
- 분류 전체보기 (570)

| 일 | 월 | 화 | 수 | 목 | 금 | 토 |
|---|---|---|---|---|---|---|
| 1 | ||||||
| 2 | 3 | 4 | 5 | 6 | 7 | 8 |
| 9 | 10 | 11 | 12 | 13 | 14 | 15 |
| 16 | 17 | 18 | 19 | 20 | 21 | 22 |
| 23 | 24 | 25 | 26 | 27 | 28 | 29 |
| 30 | 31 |
- 백준
- 코딩교육봉사
- C++
- 스프링
- 백준알고리즘
- 프로그래머스
- 데이터베이스
- 코틀린
- 공부일지
- 소프티어
- java
- programmers
- 시나공
- BFS
- 자바
- 파이썬
- SW봉사
- 문제풀이
- CJ UNIT
- 정보처리산업기사
- kotlin
- SQL
- 알고리즘
- softeer
- 백준 알고리즘
- 회고
- MYSQL
- python
- 코딩봉사
- 1과목
- Today
- Total
JIE0025
[Three.js] npm을 이용해 Mac에 설치, Visual Studio Code로 실행해보기! 본문
[Three.js] npm을 이용해 Mac에 설치, Visual Studio Code로 실행해보기!
sdoaolo 2024. 3. 6. 00:07
✅ 선행개념
three.js의 개념과 핵심객체 (Renderer, Scene, Camera)
https://jie0025.tistory.com/614
[three.js] 3D를 웹에 렌더링하는 라이브러리 (개념 & 핵심 객체 Renderer, Scene, Camera)
three.js Web 상에서 3D를 띄울 수 있는 Javascript 라이브러리 중 하나 * 선행개념으로 html, css, Javascript가 있다. ✅ 장점 가장 인기 있는 라이브러리 중 하나로, WebGL 작업 프로세스를 단순화했다. 플러
jie0025.tistory.com
✅ npm을 이용해 three.js 설치하기
터미널에서 npm을 이용해
three.js 를 아주 간단하게 설치할 수도 있다.
만약 npm이 없다면 npm 설치 까지 해버리자.
* 타블로그 NPM 설치 글
https://code-algo.tistory.com/126#google_vignette
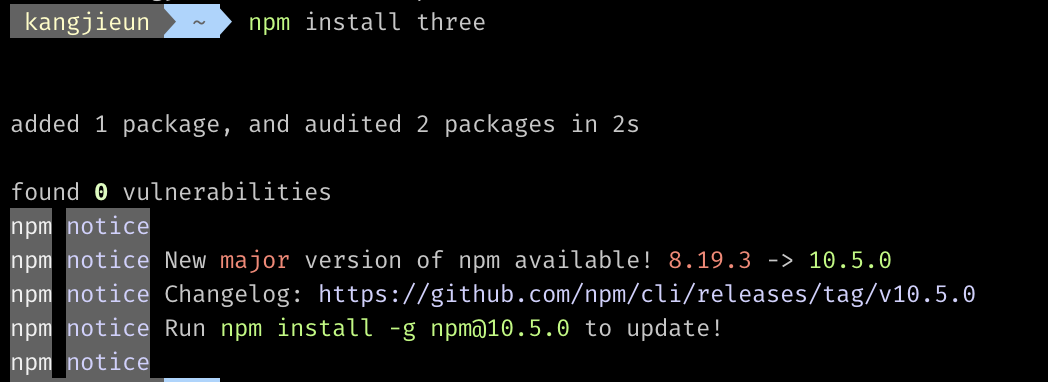
✔️ 터미널에 아래 명령 입력
npm install three
⏺ three.js 공간 테스트
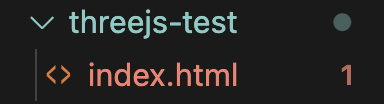
폴더를 하나 만들고,
Visual Studio 로 접속, index.html 파일을 생성했다.
지금 당장은 index.html에 아래 코드 입력한 후 테스트만 진행해보자
상세한 내용은 이후에 더 디테일하게 설명하겠다 :)
<!DOCTYPE html>
<html>
	<head>
		<meta charset="utf-8">
		<title>My first three.js app</title>
		<style>
			body { margin: 0; }
			canvas { display: block; }
		</style>
	</head>
	<body>
		<script type="module">
			import * as THREE from 'https://unpkg.com/three/build/three.module.js';

			const scene = new THREE.Scene();
			const camera = new THREE.PerspectiveCamera( 75, window.innerWidth / window.innerHeight, 0.1, 1000 );

			const renderer = new THREE.WebGLRenderer();
			renderer.setSize( window.innerWidth, window.innerHeight );
			document.body.appendChild( renderer.domElement );

			const geometry = new THREE.BoxGeometry( 1, 1, 1 );
			const material = new THREE.MeshBasicMaterial( { color: 0x00ff00 } );
			const cube = new THREE.Mesh( geometry, material );
			scene.add( cube );

			camera.position.z = 5;

			function animate() {
				requestAnimationFrame( animate );

				cube.rotation.x += 0.01;
				cube.rotation.y += 0.01;

				renderer.render( scene, camera );
			}

			animate();
		</script>
	</body>
</html>

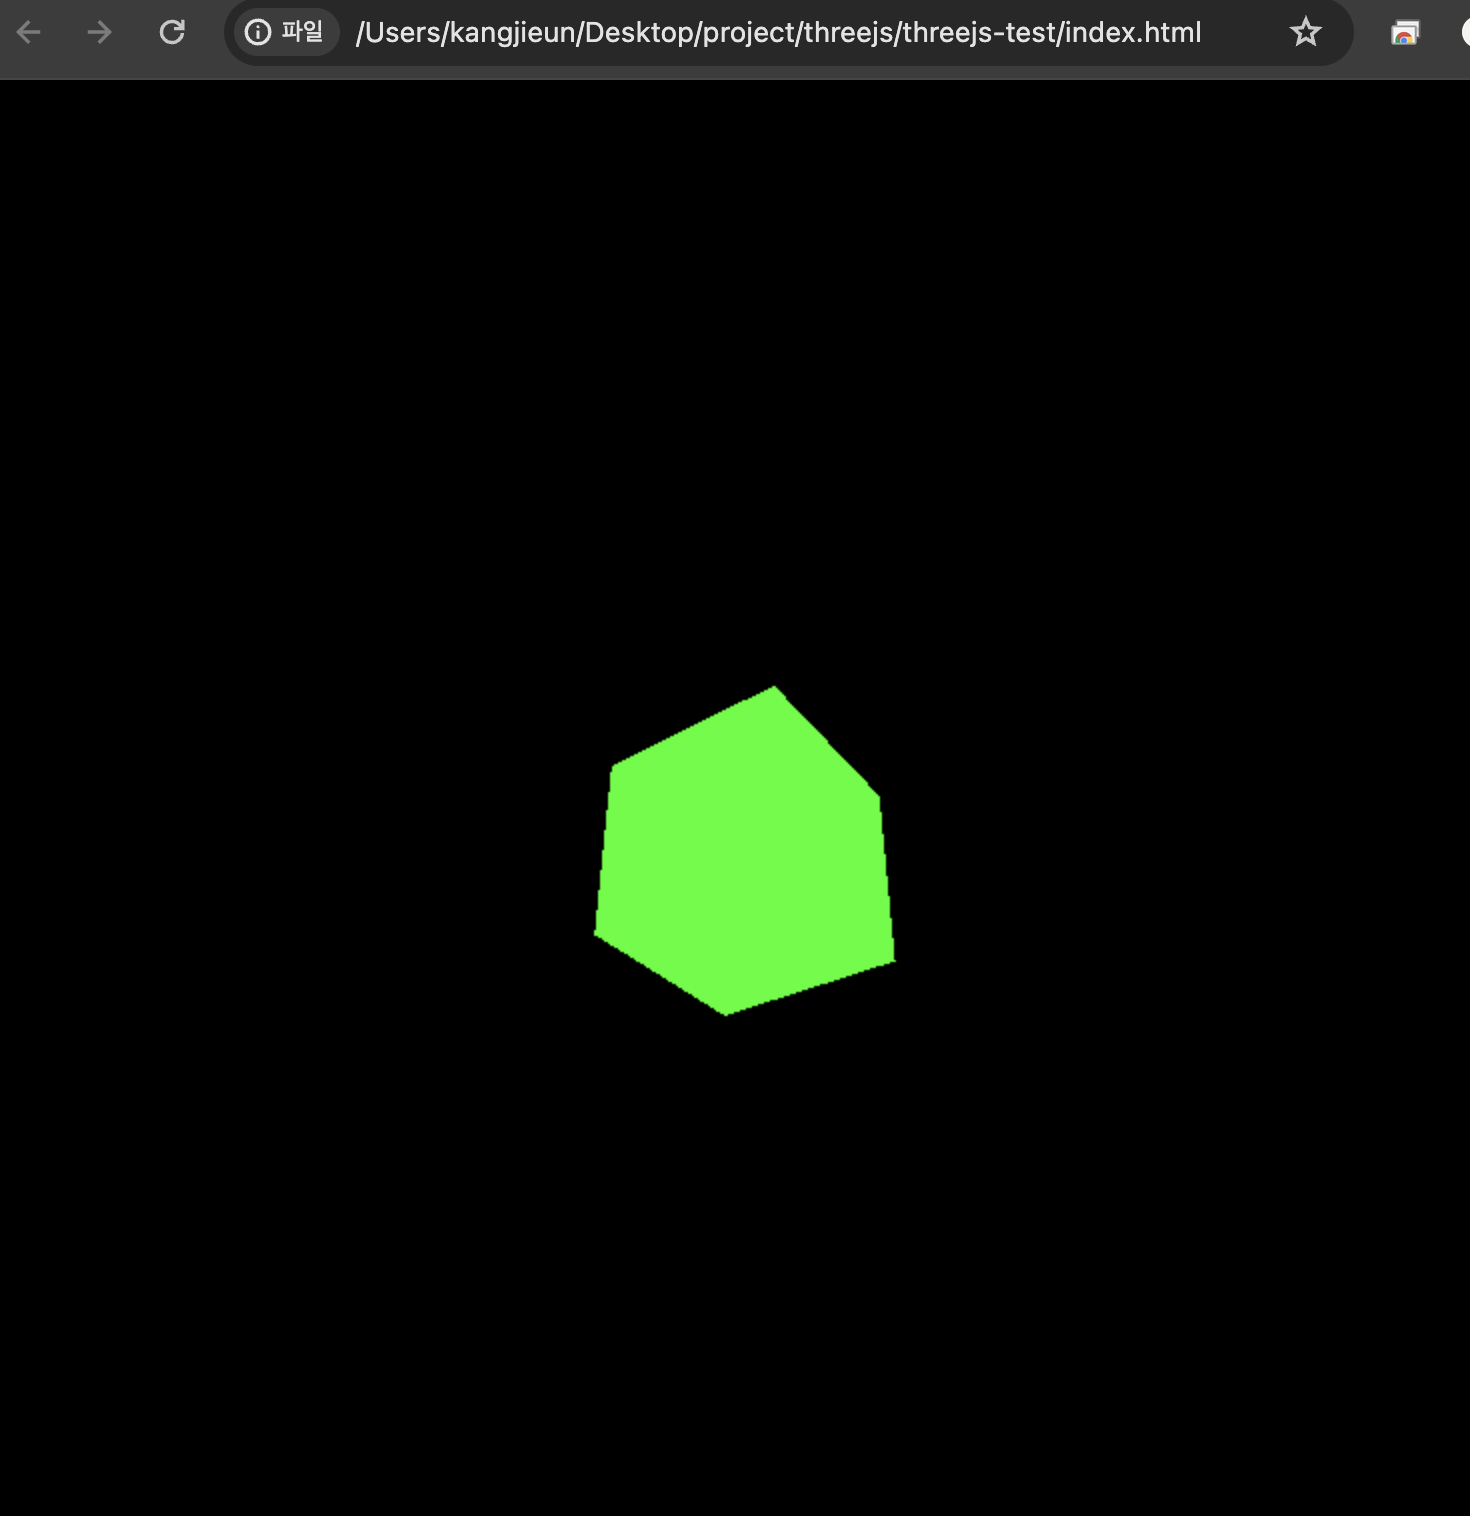
Open in Default Browser 를 클릭해보면
아래와 같이 정상적으로 화면에 3D 객체가 렌더링되는것을 확인할 수 있다.
✅ 자바스크립트 코드 상세 설명
//01: Scene 장면 생성
const scene = new THREE.Scene();

//02: Camera 생성
const camera = new THREE.PerspectiveCamera( 75, window.innerWidth / window.innerHeight, 0.1, 1000 );

//03: Renderer 생성
const renderer = new THREE.WebGLRenderer();
renderer.setSize( window.innerWidth, window.innerHeight );

//04: renderer를 body태그 밑에 element로 추가
document.body.appendChild( renderer.domElement );


//05: 장면(Scene) 내부에 실제로 들어갈 객체 생성 후 추가
const geometry = new THREE.BoxGeometry( 1, 1, 1 );
const material = new THREE.MeshBasicMaterial( { color: 0x00ff00 } );
const cube = new THREE.Mesh( geometry, material );
scene.add( cube );

//06: 카메라의 위치 설정 (x,y,z축 설정 가능)
camera.position.z = 5;

//07: animate함수 정의  - 화면 렌더링과 cube 객체의 x, y가 0.01씩 움직이도록 설정
function animate() {

    // 새로고침 될 때마다 계속해서 렌더링 해줌 (일반적으로 1초에 60번 렌더링)
    requestAnimationFrame( animate );

    cube.rotation.x += 0.01;
    cube.rotation.y += 0.01;

    renderer.render( scene, camera );
}

animate();
오늘은 간단하게 three.js를 설치하고 동작시켜 보았다.
다음엔 cube와 같이 도형(객체)에 더 다양한 효과를 넣는것을 알아보도록 하자.
References
https://threejs.org/docs/#manual/ko/introduction/Installation
https://threejs.org/docs/#manual/ko/introduction/Creating-a-scene
'기타 학습 > 테크니컬라이팅, 기획, UI-UX' 카테고리의 다른 글
| 소프트웨어 사용자 매뉴얼 / 설명서 작성 방법 (2) | 2025.02.26 |
|---|---|
| [프로토타입] 99' Nasty Kidz 팬페이지 초기 화면 기획 (0) | 2024.04.10 |
| [Three.js] 3D를 웹에 렌더링하는 라이브러리 (개념 & 핵심 객체 Renderer, Scene, Camera) (0) | 2024.03.04 |
| [디자인기획][Figma] Frontend - 수정 요청에 대한 반영2 (3) | 2023.02.12 |
| [화면기획][Figma] Frontend - 수정 요청에 대한 반영 (0) | 2023.02.07 |


